Coppertop
Well-Known Member
Can anybody explain to me how to get the polka dot look using L&P please :green:
I love the look but wouldn't know where to start :hug:
I love the look but wouldn't know where to start :hug:


I read on another site that someone used a paper clip. They unwound the paper clip and used the end of it. :green:
I'd love to see you photo hun :green:The way I do it is by applying the polka dots first by placing small beads on th tip but making sure they are high enough so when you file down you dont loose the dots and then I put my main colour over them. I have tried it the other way and found this way works best for me.
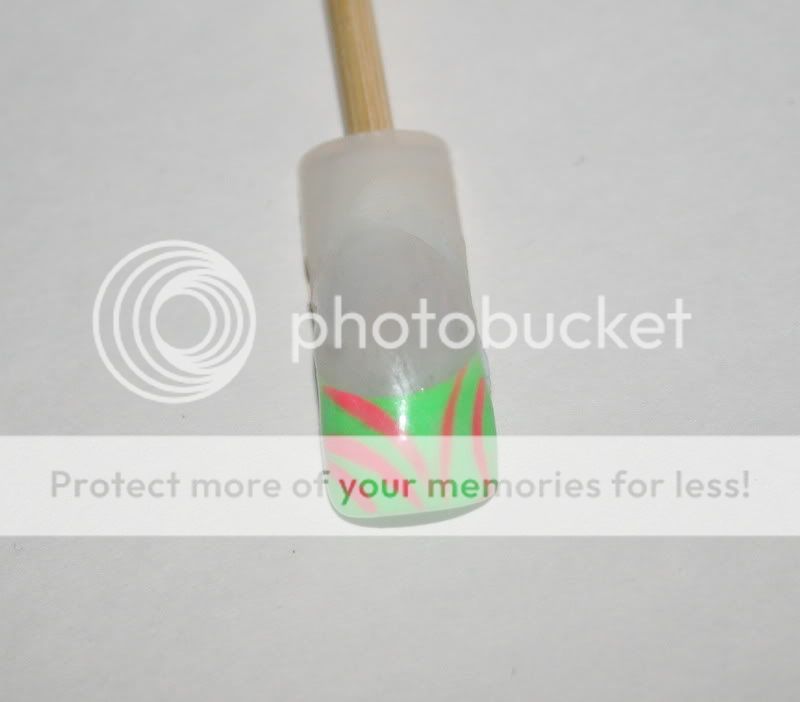
I have a photo if anyone would like to see it.

Hay Hun,please post some photo's i have never heard of this type of art... wow they sounds great.. as i keep saying i have been working 12 months and all i do is blody white tips... god give me some funky clients..
LOL
X Mel
Hay Hun,
I do mine the same as Kiwigirl only i always use reverse aplication (that way i am sure to get a crisp smile line) this is one i did for a client i was weaning off your plain french. Hope you like x (i would attatch a pic but the file is too big and i don't know how to shrink it)

Enter your email address to join: